How do workspaces and permissions work in TheyDo?
Access in TheyDo has two levels: the organization, and the workspaces inside it. Most confusion about permissions comes from mixing the two up. This article explains the structure, the roles at each level, and where to go for the task you actually have.
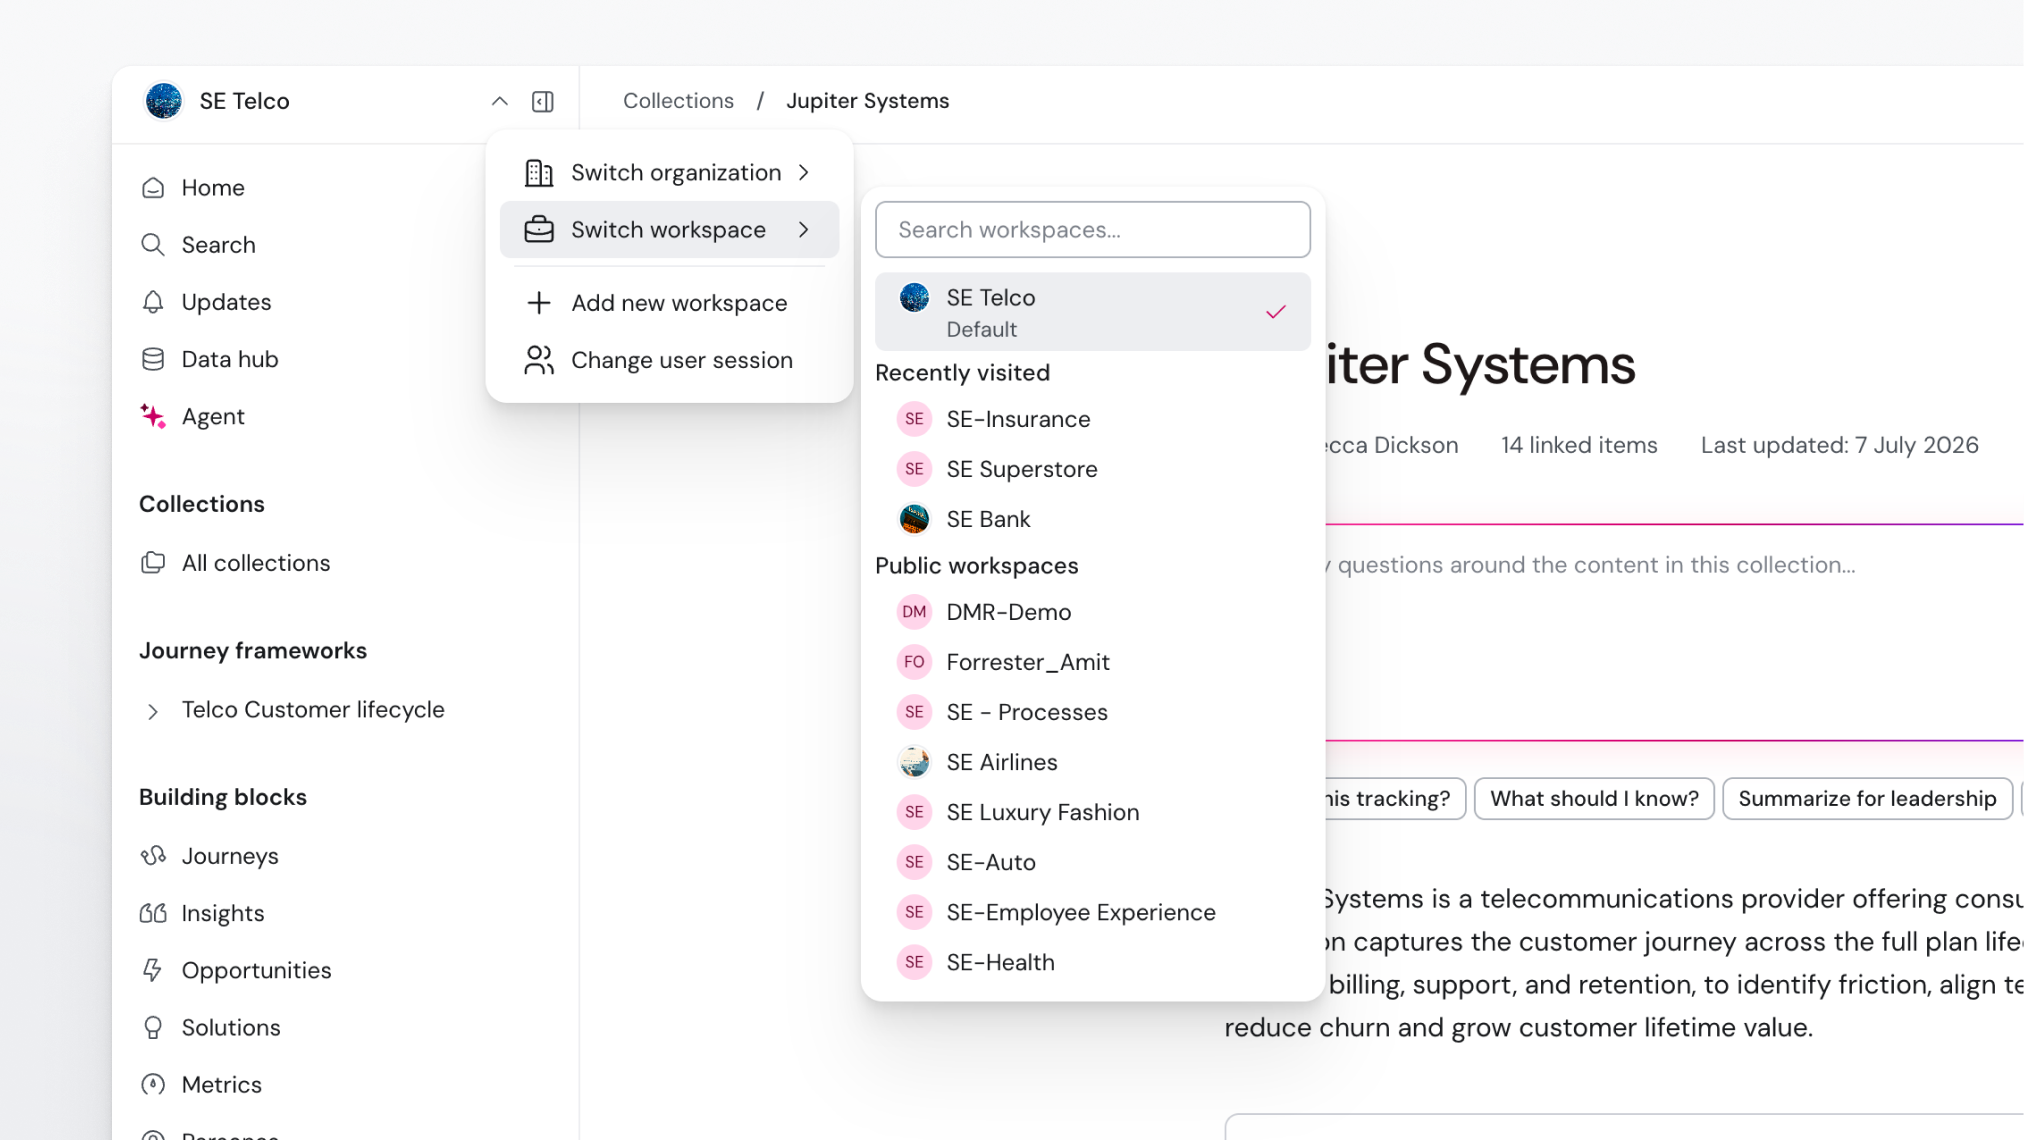
The structure
- Organization. The top-level account, usually your company. It holds your members, your integrations, your billing and your organization-wide settings.
- Workspace. A container inside the organization that holds journeys, building blocks and its own settings. Most teams run several: per business unit, per market, or per programme.
A person can belong to several organizations, and to several workspaces within one organization. A workspace can also be private, which means it is only visible to the people who have been given access to it.
Start with What is a workspace?.
Roles at two levels
Permissions follow the same two levels as the structure.
Organization roles decide what someone can do to the account itself: manage members and workspaces, control AI access, set up integrations, handle billing. TheyDo ships two roles that cannot be changed, Organization Admin and Organization Viewer. On paid plans, admins can build custom organization roles from the available permissions.
Workspace roles decide what someone can do inside a specific workspace. There are three system roles, Workspace Admin, Workspace Editor and Workspace Viewer, and a set of ready-made custom roles for common jobs such as Building Block Editor, Product Manager, Research Owner and Taxonomy Owner. You can create your own as well.
The two levels are independent. Being an organization admin does not automatically make someone a content editor in every workspace, although org admins do keep access to basic workspace settings so an account never gets locked.
Read What are roles and permissions? for the full model, then How to manage roles and permissions to change them.
Journey permissions
Journeys have their own layer on top of workspace roles, in three tiers:
- Governance: who can change the journey's settings and who can access it.
- Structure: who can change phases, steps and lanes.
- Content: who can add and edit the content inside those lanes.
This is what lets you invite a wide group into a journey to contribute insights without letting everyone reshape the map. See How journey permissions work.
Managing people
The Workspace & Members sub section covers the day-to-day work of adding, changing and removing people:
- Manage workspace members to invite people into a workspace and set their role there.
- Manage a member across all workspaces when you need to see and change one person's access everywhere at once, which is the faster route during onboarding and offboarding.
Tip: when someone leaves, check them at organization level rather than workspace by workspace. It is the only way to be sure nothing is missed.
Your own account, and organization settings
Two smaller sub sections cover the rest.
Account & Access is about you: your profile, your notification preferences, and how you sign in. If your company uses single sign-on, see Set up single sign-on (SSO).
Billing & Organization is about the account as a whole: your plan, your invoices, and closing an account. See How to delete your organization or account.
Where to start
Read What is a workspace? first, then What are roles and permissions?. Together they cover almost every access question people ask in their first weeks.