How to setup the Power BI integration
This guide covers how to connect TheyDo to your Power BI workspace and create metrics using DAX queries. The Power BI integration is available on Strategic plans and has been in beta since July 2026, so ask your TheyDo contact to enable it if you don't see it yet. You'll need a little help from your Microsoft admin for the initial setup, but once it's connected, anyone on your team can create metrics from it.
Before you start
Setting up the connection goes more smoothly with a few people involved:
- Someone who can create a new user account in your Microsoft Entra admin center (or Microsoft 365 admin center)
- A Power BI workspace admin who can grant that account access to the relevant workspace(s)
These can be the same person, depending on how your organization is set up.
If your organization restricts access by IP allowlist, also authorize these TheyDo IP addresses before syncing will work:
52.34.139.15354.69.127.18344.247.133.18352.26.211.5
Note: If your organization restricts third-party OAuth apps, your Microsoft tenant administrator may need to approve the TheyDo app before the connection can complete. It's worth looping them in before you start (see Step 4 below).
Part 1: Connect Power BI to TheyDo
TheyDo connects to Power BI using Microsoft's standard OAuth sign-in. You authorize TheyDo once with a Microsoft account, and TheyDo keeps syncing from there without anyone needing to sign in again.
Step 1: Create a dedicated service account
- In the Microsoft Entra admin center (or Microsoft 365 admin center), create a new user account.
- Give it a name that makes its purpose obvious and isn't tied to any one person, for example
powerbi-integration@yourcompany.com. - Set a strong password and store it in your team's password manager, since you or a teammate may need it later to reauthorize the connection.
Note: A one-time MFA prompt during setup is fine, but Conditional Access policies that force frequent re-authentication can interrupt syncing. If this account is subject to strict sign-in policies, check with your identity or IT admin first.
We recommend using a dedicated, non-personal account like this rather than your own. Because the connection runs as whichever account authorizes it, a shared account keeps the integration working even after people leave the team or change roles. You can connect with a personal account, but the sync will break if that account is later disabled or loses access.
Step 2: Grant workspace and dataset access
- In the Power BI service, open each workspace you want TheyDo to query.
- Click
Manage access > Add people or groupsand add the service account. - Assign a role:
- Member or Contributor: recommended. Gives reliable read access to datasets.
- Viewer: only works if you also add the account to the right dataset permissions or Row-Level Security (RLS) roles (see below).
- Repeat for any additional workspaces.
The data TheyDo syncs reflects exactly what this account is allowed to see:
- To sync all rows, add the account to an RLS role that grants full visibility, or give it Member, Admin, or Contributor on the workspace. These roles aren't restricted by RLS.
- To have RLS apply, assign the account as Viewer and add it to the appropriate RLS role(s). TheyDo will then see only the rows that role permits.
Step 3: Connect TheyDo with the service account
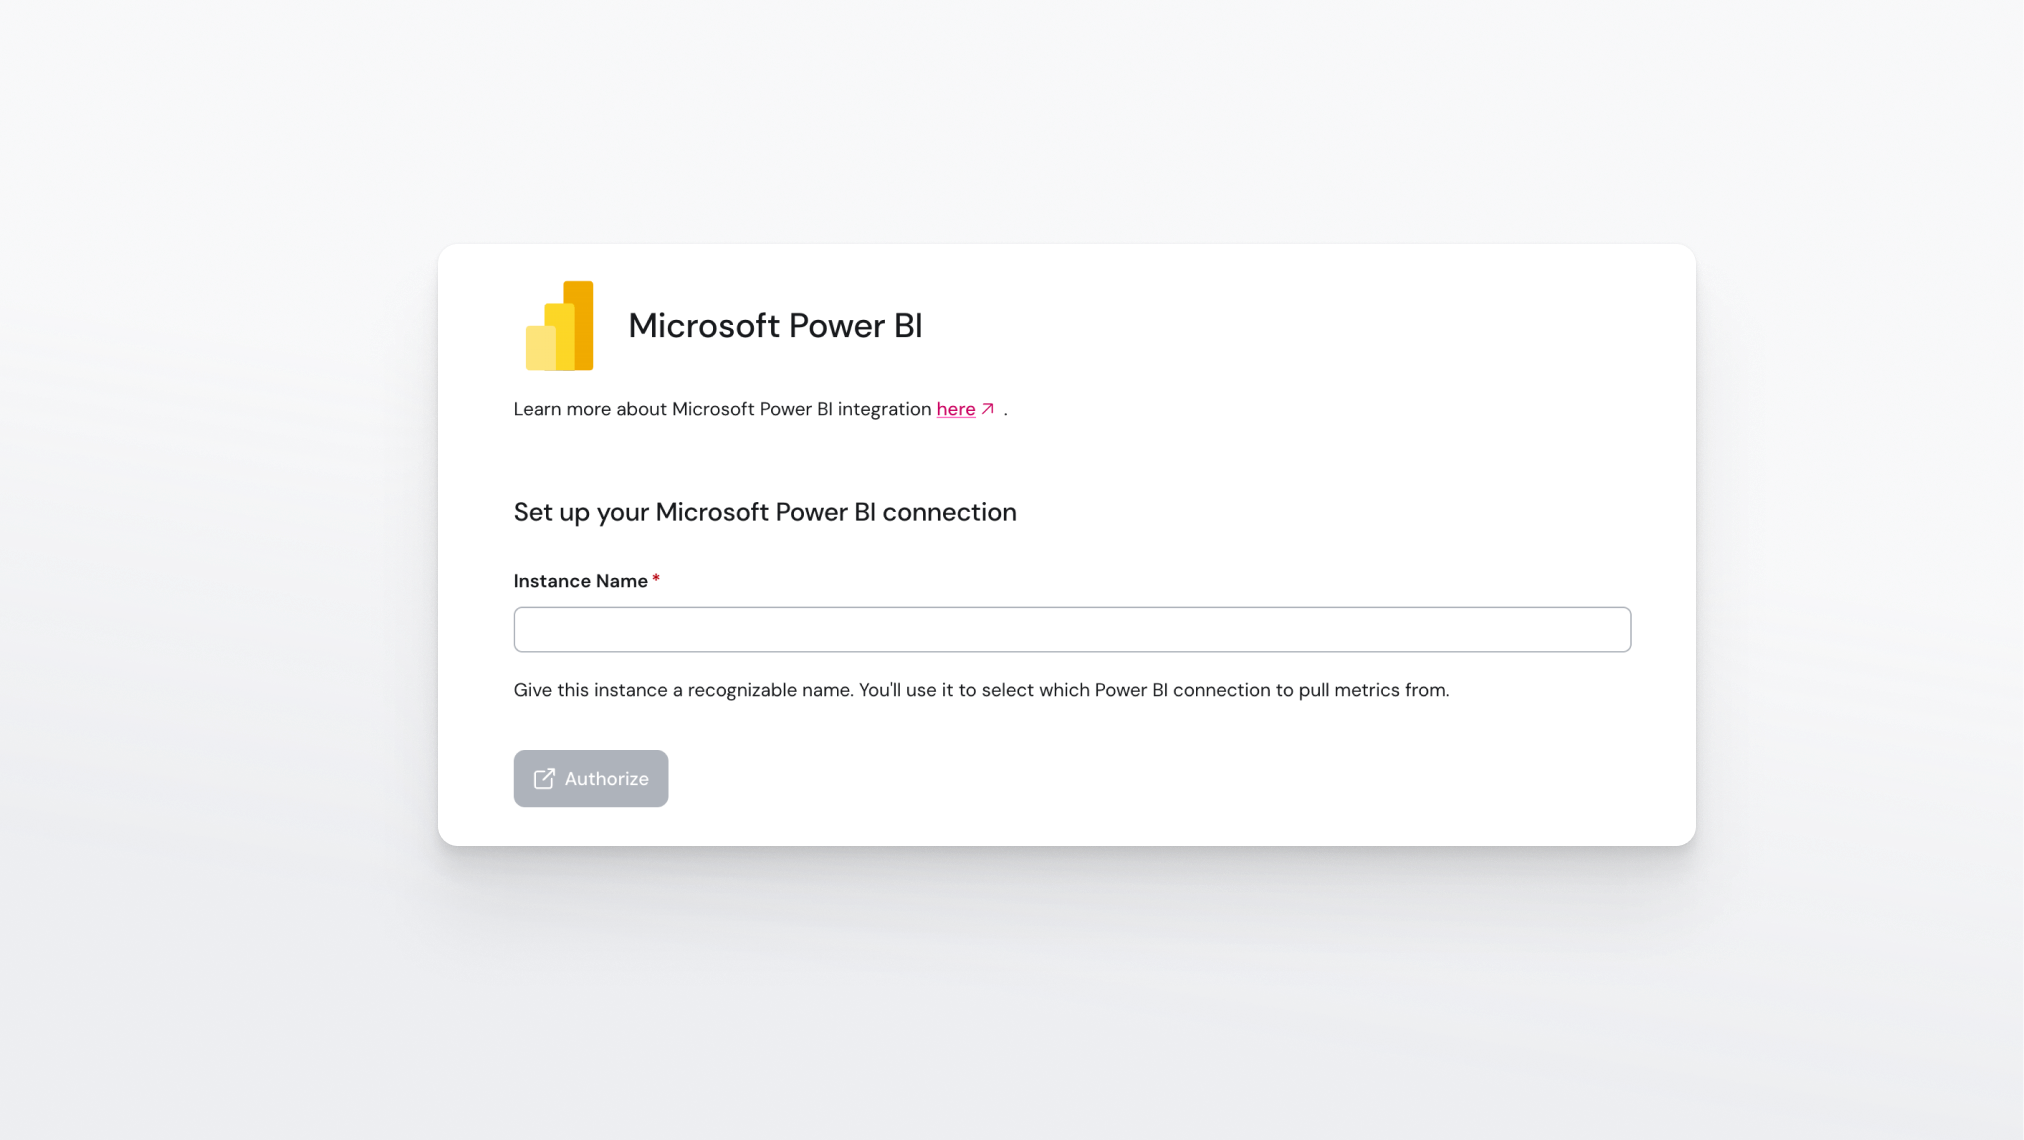
- In TheyDo, go to
Settings > Integrations > Power BIand clickConnect. - You'll be redirected to a Microsoft sign-in page. Sign in with the service account's credentials, not your personal account. Whichever identity you use here is the one the integration will run as going forward.
- Review the permissions TheyDo requests (view datasets, view workspaces, maintain access, view basic profile) and click
Accept. - You'll be returned to TheyDo, which validates the connection and confirms once syncing is active.
Step 4: Approve the app, if prompted
If your organization restricts third-party apps, signing in may show an Approval required screen instead of a consent button. This means a Microsoft tenant administrator needs to approve TheyDo before the connection can complete.
- Enter a justification and click
Request approval, then ask your Microsoft admin to approve it. Alternatively, an admin can grant consent for the TheyDo app directly. - If you're the admin approving the request: open the Microsoft Entra admin center (or Azure Portal > Microsoft Entra ID), search for
Admin consent requests, locate the pending TheyDo request, and selectReview permissions and consent(this may sayApprove, depending on your portal version). - Sign in with an administrator account and approve the request.
- Once approved, repeat Step 3.
Part 2: Create a metric from Power BI
Once your Power BI workspace is connected, anyone on your team can create metrics in TheyDo, no Power BI access required on their end.
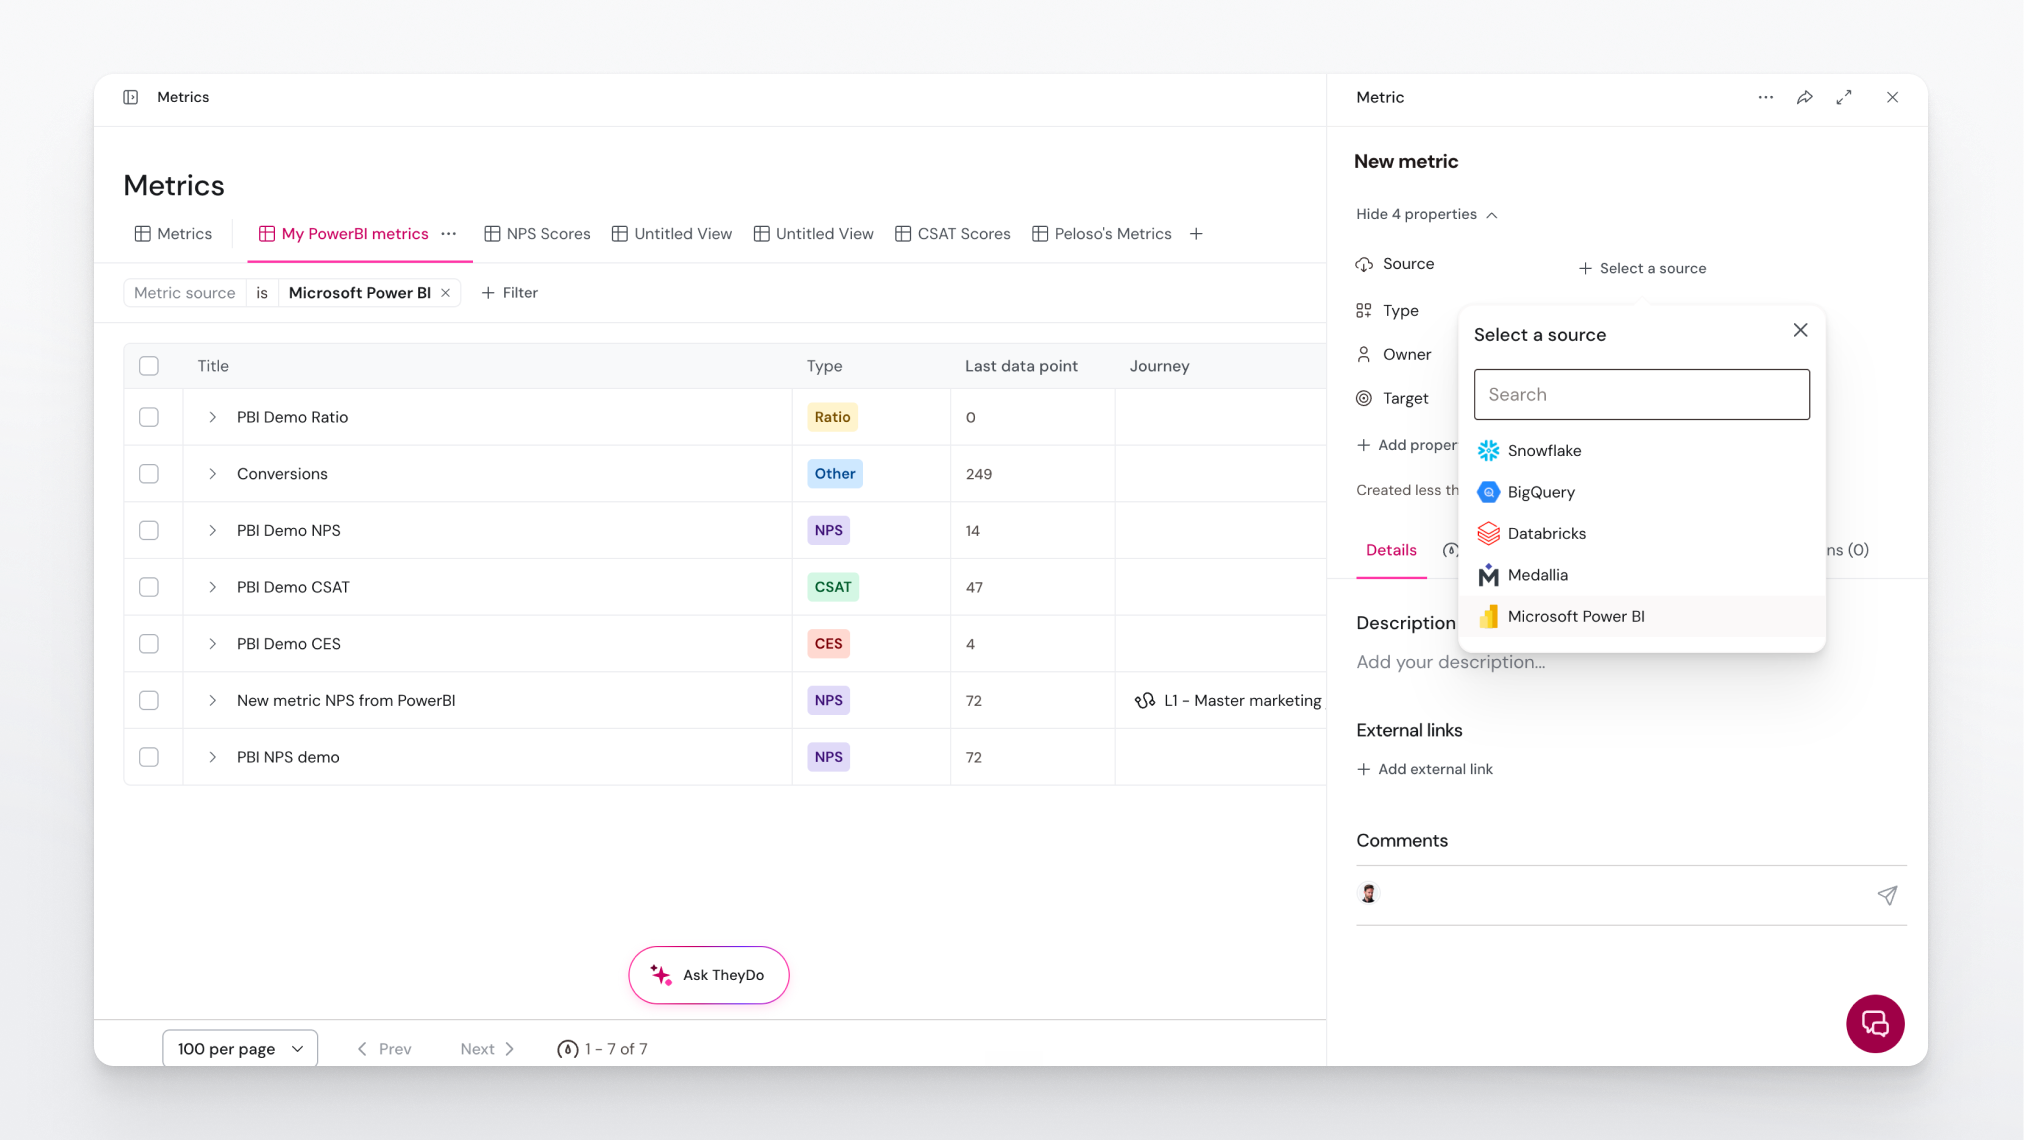
- Go to
Metricsin TheyDo, or open a journey and clickAdd a metric. - Select Power BI as the data source.
- Choose the Workspace you want to connect to.
- Select the Dataset within that workspace.
- Choose the metric type (NPS, CSAT, CES, Ratio, or Other).
- Give the metric a name.
- Enter your DAX query (see the guidance below for formatting requirements).
- Click
Run queryto preview the results. - Click
Save metric. TheyDo syncs data automatically from this point on.
Tip: If no data appears for the last 30 days, click
Show latest datato retrieve the most recently available datapoints.
Writing your DAX query
Your DAX query must return columns that match TheyDo's expected format for each metric type. Use EVALUATE SELECTCOLUMNS(...) to shape the output.
Required columns by metric type
| Metric type | Required columns |
|---|---|
| NPS | date, detractors, promoters, respondents |
| CSAT | date, positives, negatives, respondents |
| CES | date, value, respondents |
| Ratio | date, numerator, denominator |
| Other | date, value |
Date columns must be a DATE type (or a datetime column that resolves to a date). Value columns must return an INTEGER, FLOAT, or NUMERIC type.
Renaming columns with SELECTCOLUMNS
Your Power BI column names don't need to match TheyDo's expected names. Use SELECTCOLUMNS to alias them inline, for example, for an NPS metric where your table uses different column names:
EVALUATE
SELECTCOLUMNS(
    'your_table',
    "date", 'your_table'[response_date],
    "detractors", 'your_table'[detractor_count],
    "promoters", 'your_table'[promoter_count],
    "respondents", 'your_table'[total_respondents]
)
Filtering data
You can filter your results directly in the DAX query using FILTER. For example, to return data for a specific country only:
EVALUATE
SELECTCOLUMNS(
    FILTER('NPS_TABLE', 'NPS_TABLE'[country] = "DE"),
    "date", 'NPS_TABLE'[date],
    "detractors", 'NPS_TABLE'[detractors],
    "promoters", 'NPS_TABLE'[promoters],
    "respondents", 'NPS_TABLE'[respondents]
)
Adding dimensions
Any extra columns you return beyond the required metric columns automatically become dimensions in TheyDo, letting you filter and segment the metric in charts:
EVALUATE
SELECTCOLUMNS(
    'NPS_TABLE',
    "date", 'NPS_TABLE'[date],
    "detractors", 'NPS_TABLE'[detractors],
    "promoters", 'NPS_TABLE'[promoters],
    "respondents", 'NPS_TABLE'[respondents],
    "country", 'NPS_TABLE'[country],
    "channel", 'NPS_TABLE'[channel]
)
This returns country and channel as filterable dimensions in TheyDo.
Note: TheyDo supports up to 5 dimensions per metric. Returning more than 5 extra columns may cause unexpected behavior. Tip: If you're starting from a query exported directly from a Power BI visual, it usually won't be in the right shape yet (it may include pagination wrappers like
TOPNor hardcoded filter values). Pasting it into an AI assistant and asking it to reshape the query into the column format above, usingSELECTCOLUMNSand dropping anyTOPNwrappers, is a quick way to get a working query without doing it by hand.
Troubleshooting
"Approval required" or no consent button. Your tenant requires admin approval for third-party apps. Follow Step 4 above.
Connection worked, then suddenly stopped. The refresh token may have expired. This usually happens after a long pause in syncing, a password change on the service account, or a Conditional Access policy forcing re-authentication. Reconnect in TheyDo by signing in with the service account again.
Service account can't see a specific workspace or dataset. Confirm the account has access to that workspace and read access to the dataset (Step 2).
Some rows are missing from synced metrics. Row-Level Security is filtering what the account is allowed to see. Adjust the account's RLS role membership or its workspace role (Step 2).
Sync stopped after a password change. Rotating the service account's password can invalidate existing tokens. Reconnect in TheyDo with the updated credentials.